Welcome to Guangzhou Tongsen Electronic Technology Co., LTD. Website!


Detailed explanation of circuit board transistors
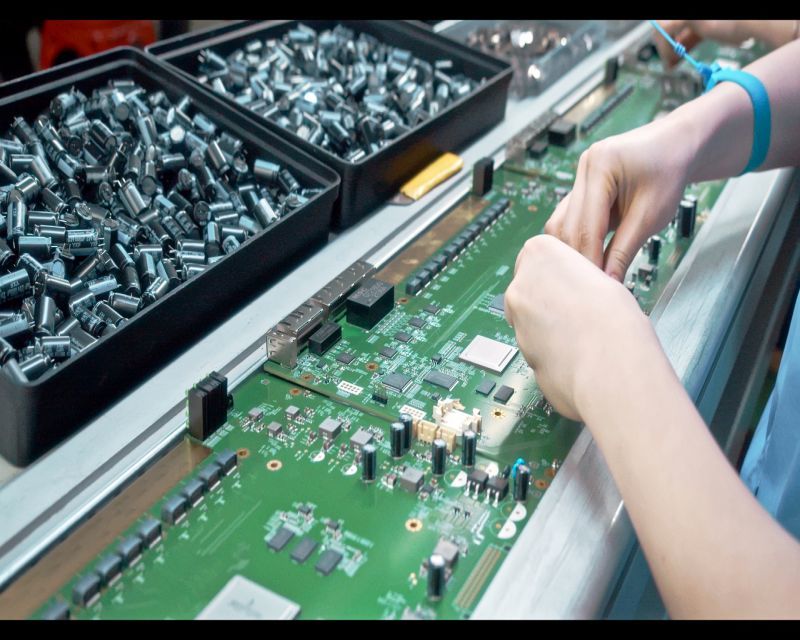
Transistors are devices that manage the movement of electrons, and therefore also control electricity. This means they can start and stop electric current. Their main purpose is to amplify or switch specific amounts of electronic signals through a circuit board.
Before understanding how a circuit board transistor works, you need to understand the transistor itself and what to look for when selecting one. Understanding how to test a transistor circuit board is crucial before purchasing one.
What is a circuit board transistor?
A transistor is a device that manages the movement of electrons and therefore controls electrical power. This means they can start and stop the flow of current. Their main purpose is to amplify or switch a specific amount of electronic signals through the circuit board.
Types of Circuit Board Transistors
There are two types of transistors, namely NPN and PNP, each with a different circuit symbol. Transistors are made of semiconductor materials, and each transistor has different types of layers. A common transistor is the silicon-made NPN, which is easy to manufacture. For any beginner, it is crucial to start learning from NPN as they are easy to understand. If you understand NPN, you will easily learn the entire transistor and different types of transistors.
How to Read Transistors on a Circuit Board
Transistors are made in many different ways, each with its own variations, with common ones being the PNP and NPN types. One step is to understand the transistor and know how to read the transistor circuit board. After knowing how to read the transistor, the next step to learn is how to test the transistor.
Here is a step-by-step guide on reading transistors on a circuit board.
Testing a transistor is important because you can determine if it is usable. First, locate the markings near or under the transistor.
Look for a line and an arrow pointing from the end or side of a triangle, and a line underneath that seems to connect them.
Unless the transistor does not have a line leading out from the left side, use that line as the base. If that line is absent, the metal casing will act as the base.
Ensure the leads are facing to the left when locating the transistor.
Make sure you identify the location of the triangle and point it out, as the NPN collector will point upwards, while the PNP collector will point downwards.
How to Test Transistors on a Circuit Board
Transistors play a vital role in circuits, and ensuring they are working correctly is crucial. If they malfunction, it can lead to circuit failure. That's why testing them to ensure they are operating as expected is essential. Before starting this process, make sure you know what you should be doing. Here is a step-by-step guide to testing transistors on a circuit board.
1. When testing a transistor, turn off the circuit to ensure there is no current in the circuit. After that, unplug the AVC power cord and remove the battery. Make sure there is no power on the circuit board, then use metal to simultaneously touch the two terminals of the capacitor. Make sure to use a screwdriver with insulated ends to avoid cutting off the stored power.
2. Note the base, collector, and emitter leads of the transistor you are testing. Some transistors have labels on their leads for easy identification. They will have B, E, and C on them. To be sure, you should request a catalog from your electronics supplier and determine the orientation of the leads. The tip location is different for each transistor, which is why you should be confident.
3. In the third step, if your digital multimeter has a diode setting, it should be set to the diode setting, otherwise use the ohm setting. If the transistor is in an analog environment, use the low ohm scale setting for the transistor.
4. Check the collector readings in both directions of the base-collector, touching one lead of the meter to the base lead while placing the other lead on the collector lead. Check the reading and swap the tips. If the transistor is good, it will show a reading in one direction and infinity in the other.
5. You need to check the emitter readings on the base from both directions while touching one lead to the base and the other to the emitter. After checking the meter, reverse the leads to read the readings in the opposite direction. As in step four, expect one reading to show approximately 600. The other reading will be infinity.

6. If the digital reading is not close to 600, the base lead needs to be removed because other components may affect the reading. Melt the solder that secures the base lead to the circuit board and disconnect the information on the circuit board. Use the meter to test both directions from base to collector-base to emitter. Using a soldering iron, melt the solder, push in the lead, and put it back into the hole in the circuit board after completing the meter reading.
7. After testing, you should know if the base-emitter or collector readings show zero in both directions, or if you notice that both show infinite tasks. Zero indicates a short time. Infinity indicates an open circuit diode inside the transistor.
Conclusion
Before purchasing a transistor, it is crucial to understand the transistor you intend to use. There are various transistors on the market, so it is necessary to ensure you have the right one. Most suppliers will categorize them based on their application or power rating.
Also, if you are unfamiliar with transistors, be sure to consult an expert to ensure you don't make the wrong choice. The intended use of the transistor will determine the right one for you.
RECOMMENDED NEWS

High-end Custom Services: SMT Chip Processing Meets Diverse Industry Needs


(Telephone contact)
Email:
Address: Room 502, Building 1, No. 13, Bohua 4th Road, Huangpu District, Guangzhou City
COPYRIGHT © 2025 Guangzhou Tongsen Electronic Technology Co., Ltd. All rights reserved.